Blog

 RSS Feed

» Listings for 2014

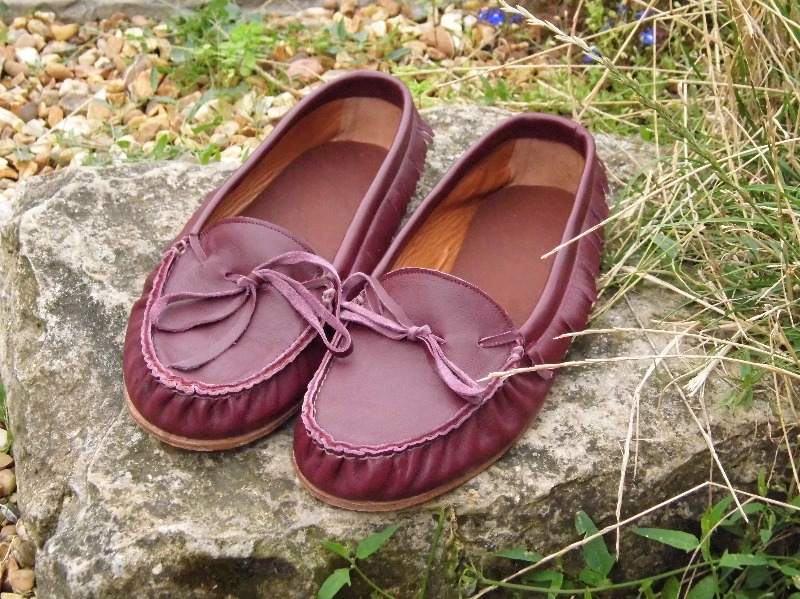
  1. Last autumn the seeds of shoe making were planted and grew into bigger ideas. Having attended the Prescott and Mackay moccasin slipper making with Rose in March, I decided I wanted to learn more.  In April I went to Springline to order a pair of moccasin lasts for use this August, where I had the great pleasure of learning how to make moccasins from a marvellous designer and teacher, Rose Choules (www.rosechoulesatelier.com). Under Rose's patient guidance I learnt how to create patterns from my taped last right the way through to completing the finished moccasin shoe. It was an amazing process to see something take shape to fit my feet!
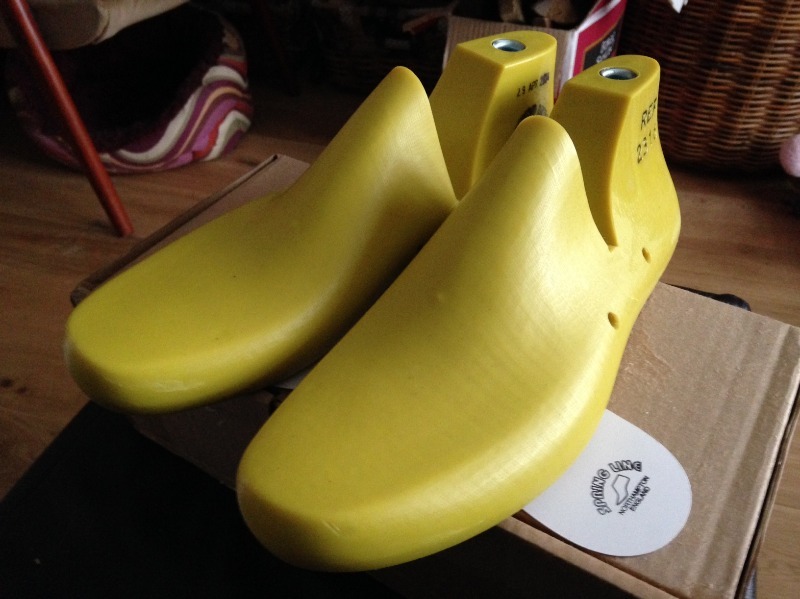
    lasts photoThese are my lasts. Each pair of shoes needs it's own style of last.

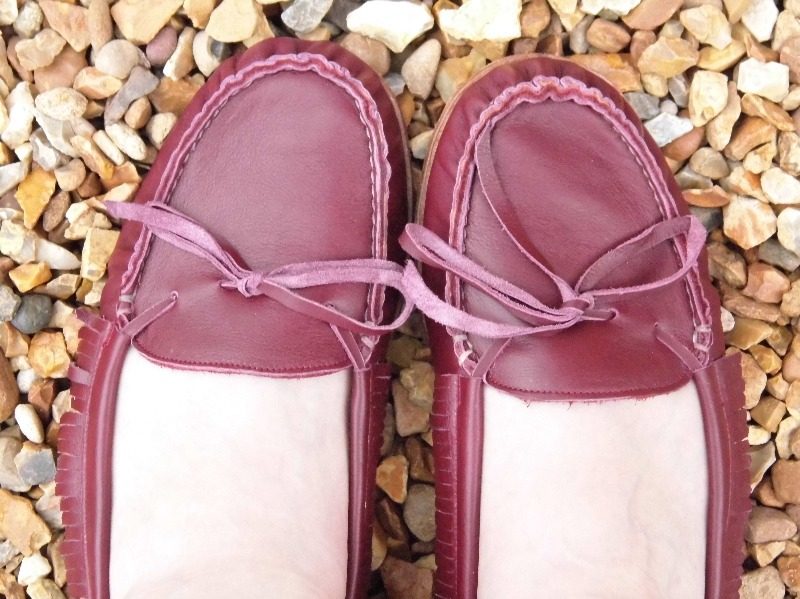
     Here are my finished moccasins.
    p1000483

             p1000484

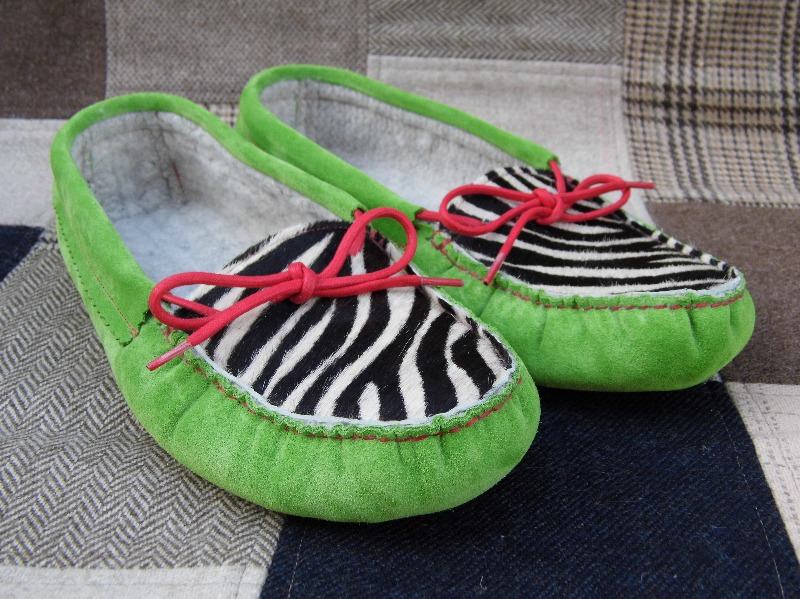
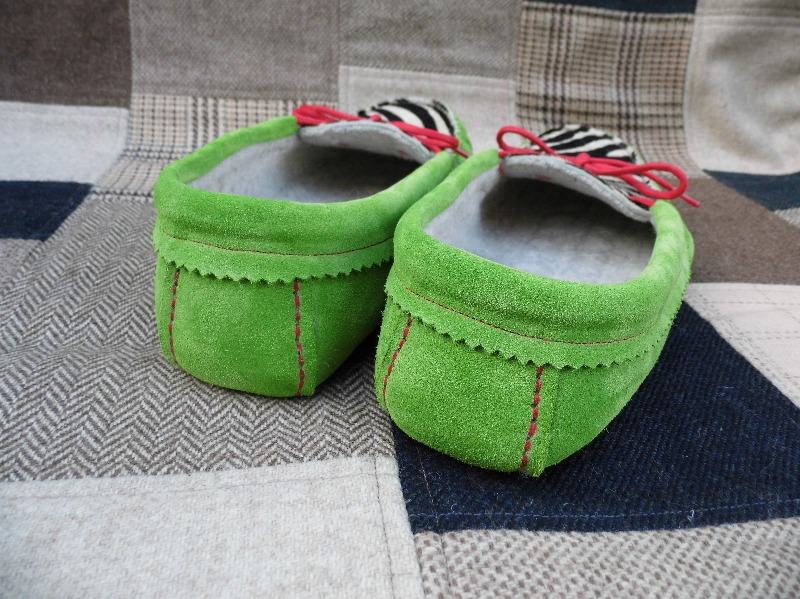
    So what next? Well, I have practiced taping my lasts and creating patterns since returning home. I have made lots of mock up slippers to try out my ideas. I have recently created a pair of slippers that might even tempt Cinderella away from her glass slipper! I used a felted jumper to line the slipper and recycled a pair of zebra boots to create the vamps. The green suede is my favourite colour of the moment. The spare zebra will be used in the creation of moccasin shoes for my birthday, photo to follow. My husband has also expressed an interest in having his own slippers, complete with chilli fabric lining.........
    p1000532 p1000534

    I plan to add moccasins to my range next year, once I have played about with my ideas and materials first.
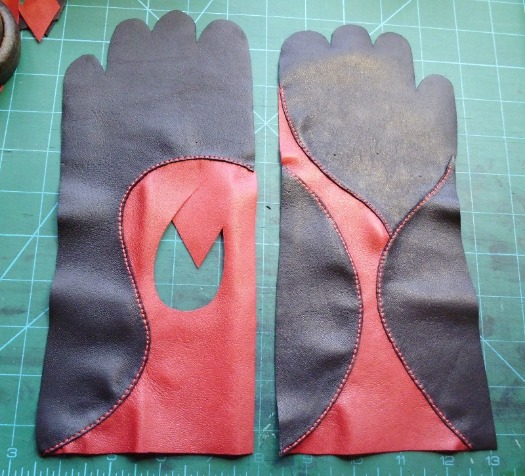
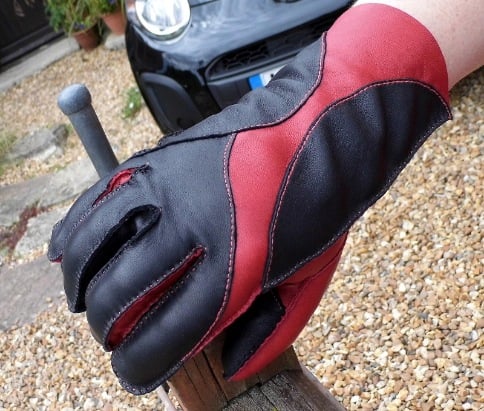
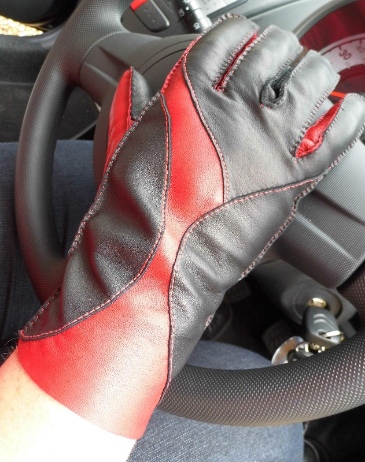
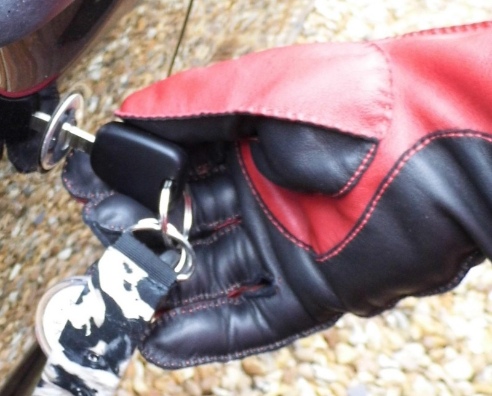
  2. I started this back in February on one of Katharine Pogson's excellent gloving weekends. It is finally finished! It has been a challenge in places, with the odd threat of twisted fingers. I find I need to ensure that the fingers do not get stretched as I insert the quirks and fourchettes. All issues now happily resolved. I have used a between no.7 needle, lamb nappa and two strands of gutermann's glazed quilting cotton which I also waxed. This thread is working well in my gloving work and gives a good effect. The seams are overlapped and stab stitched. 

    p1000204 glove 1 glove 4 glove 3

    The picture on the top left is the trank ready to thumb and fourchette insertion. The other pictures show completed views of the gloves, kindly taken by my husband. I would also consider adding a piped edge, though I do like the simplicity of the cut edge. I might also explore adding elastic or a button fastening..........

  3. Back in the dark days of winter I wanted to find some nice baskets to place our logs in. We had been looking for a while and could not find anything that would suit, so I decided to learn how to make them. Not only that, I would make them to a size suitable for the logs, naturally I was dreaming big! I started looking for courses and found some in October which seemend too far away. I then found Jon's Bushcraft http://jonsbushcraft.com/. As I was discussing my plans, my husband said he would like to come too, which meant that we could drive to Warwickshire without getting lost..........We opted for a course in May in case of inclement weather and to avoid the disappointment of snow.

    p1000263

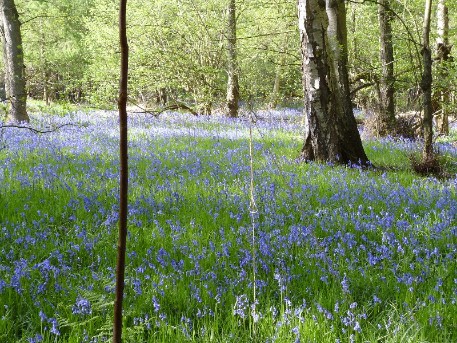
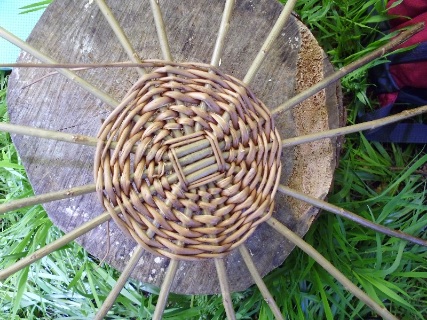
    On Saturday 3rd May we packed our sandwiches and headed up to a bluebell wood in Warwickshire. The weather was on our side and we arrived with nearly an hour to spare. Jon met us at the car park and walked us into the woods. After a short walk we came to a clearing set up for the class. A silk parachute canopy protected us from the sun as we learned how to start our basket base. It took a few turns to get to grips with how to manoeuvre the willow; I split mine initially, which was frustrating, but once underway the base built up quickly.

    p1000239p1000251

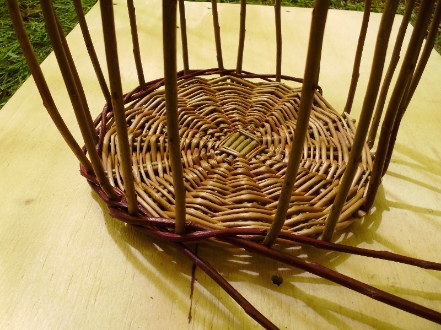
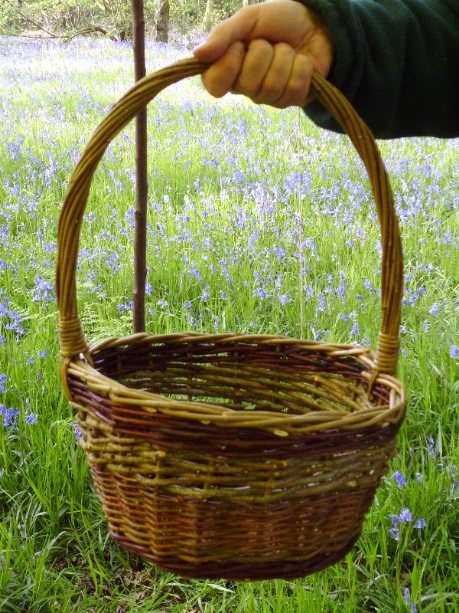
    Next came the sides and the different ways of creating the edges - waling in this case. The next weave was french randing. We used willow and larch (picked from the forest). Then we did some more waling in willow and finished with a  3 behind 1 border. The last thing to add was the handle - a thin piece of hazel Jon had kindly pre-shaped. The photos on Jon's website explain each step of the process really well. A day in the woods really took us out of ourselves and Mark has been buzzing ever since. He has continued raving about making baskets ever since. 

    p1000275p1000274p1000353

    From left to right - my basket, Mark's and our completed baskets. We also had a campfire stove to make tea and the compostable toilet was something to behold for those like me who like a sense of their creature comforts. Everything had been carefully thought through. We would thoroughly recommend the course to anyone who wants to learn how to make baskets from such a skilled teacher. We have already ordered a basket making starter kit from Musgrove Willows to experiment with, probably over half term........